
Advanced Installer Tutorial
Introduction
Advanced Installer is an extremely easy-to-use installer creation tool.
In this article, I will use a sample app to explain how to use Advanced Installer to package an installer.
Here is the directory structure of the sample app, named "Sample":
sample
  ├── abc.dll
  └── main.ps1
It contains:
- A
main.ps1file, assumed to be the main executable file of the app. - An
abc.dllfile, assumed to be a dependency file of the app.
Tutorial
-
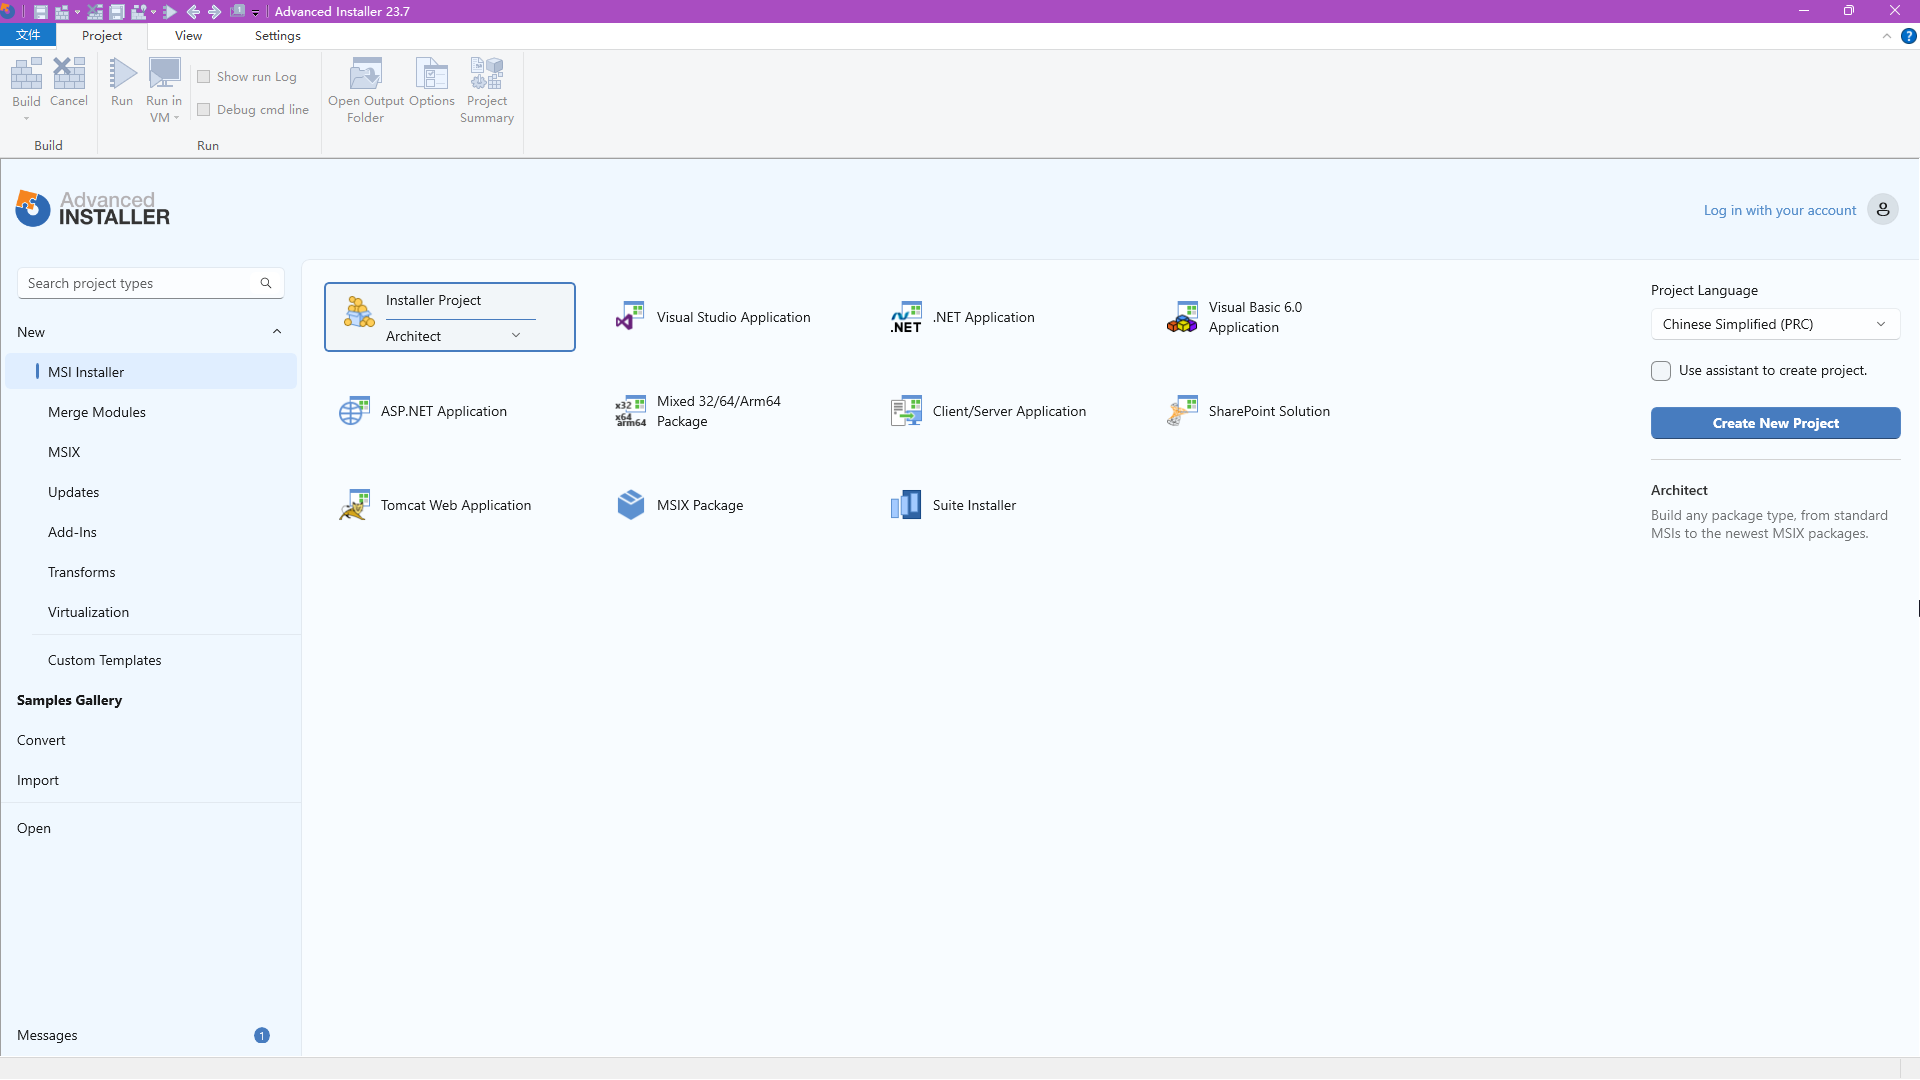
Double-click
Installer Projectto create a new empty installer project. -
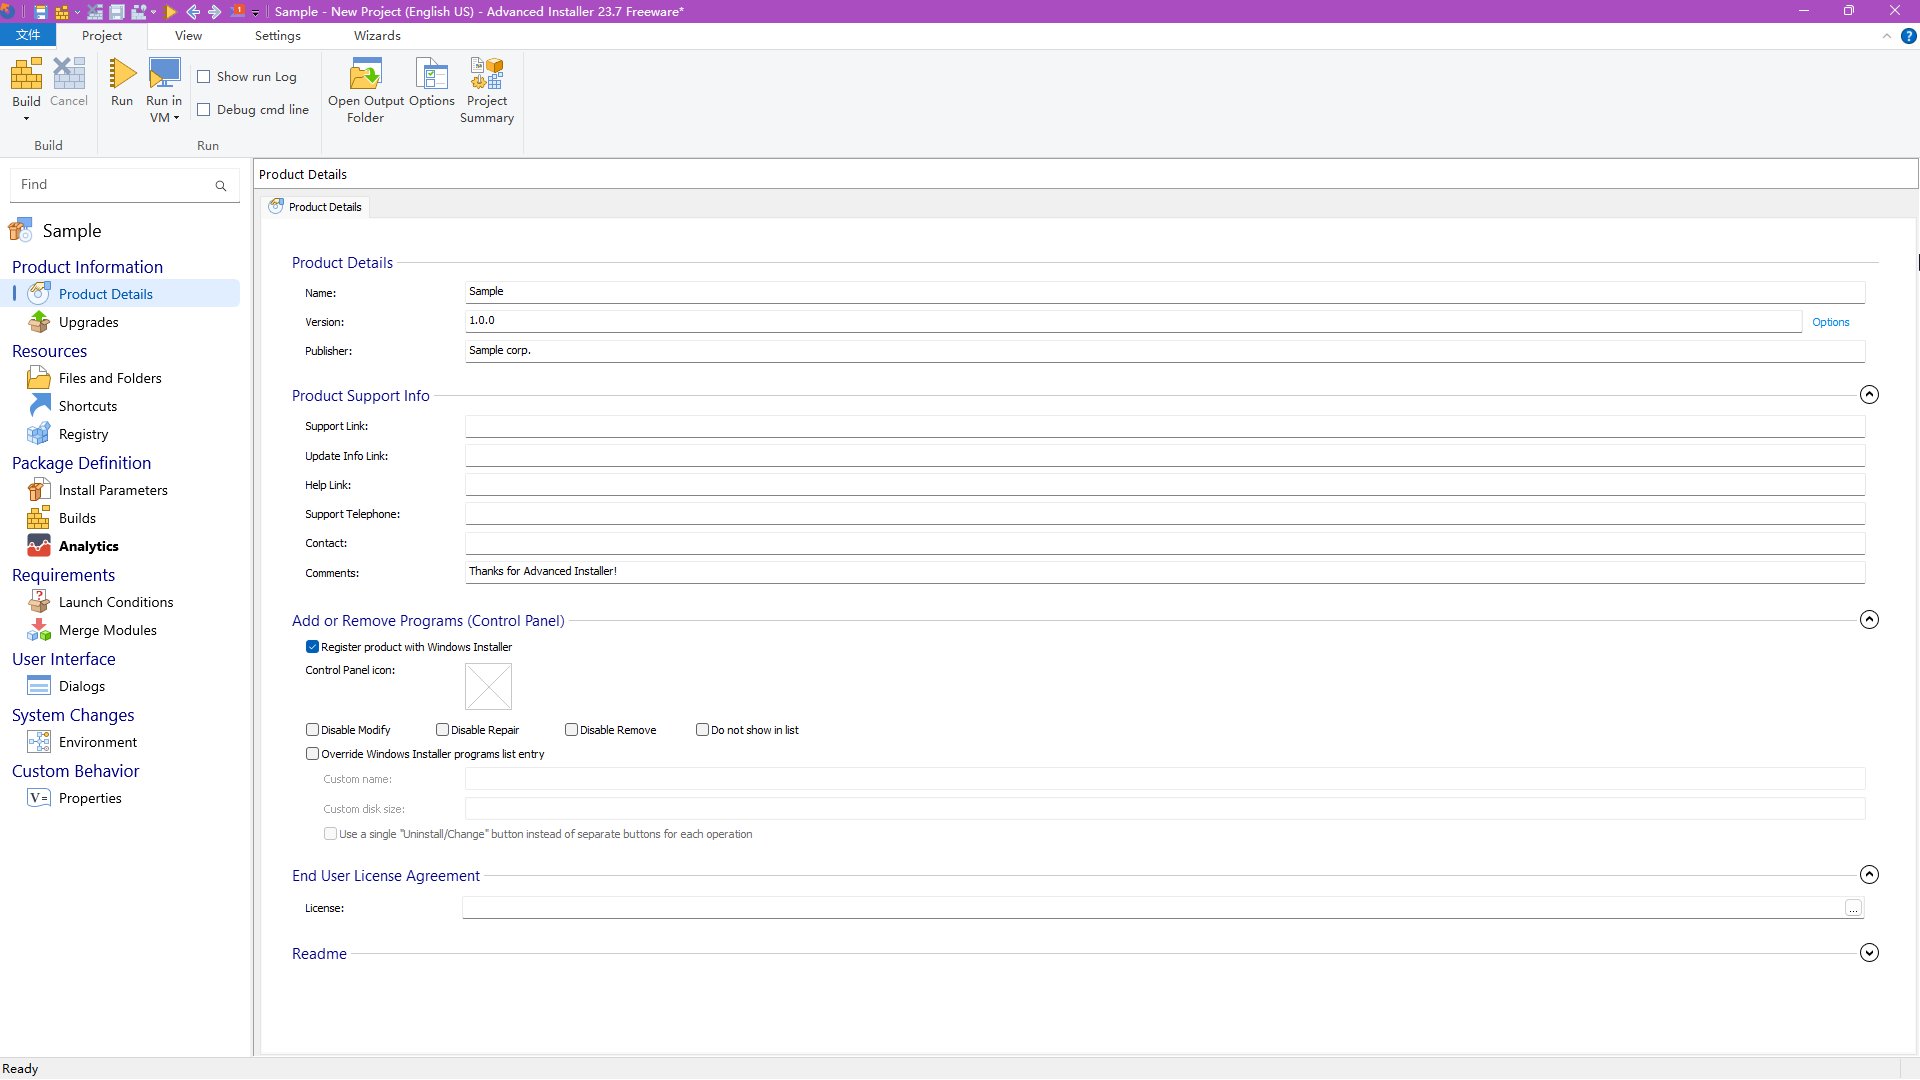
Fill in the fields (some fields are optional).
Name is the name of the application.
Version is the version of the application.
Publisher is the publisher of the application (i.e., your name).
Product Support Info can be filled in as needed.
Example: I filled it out as shown below:
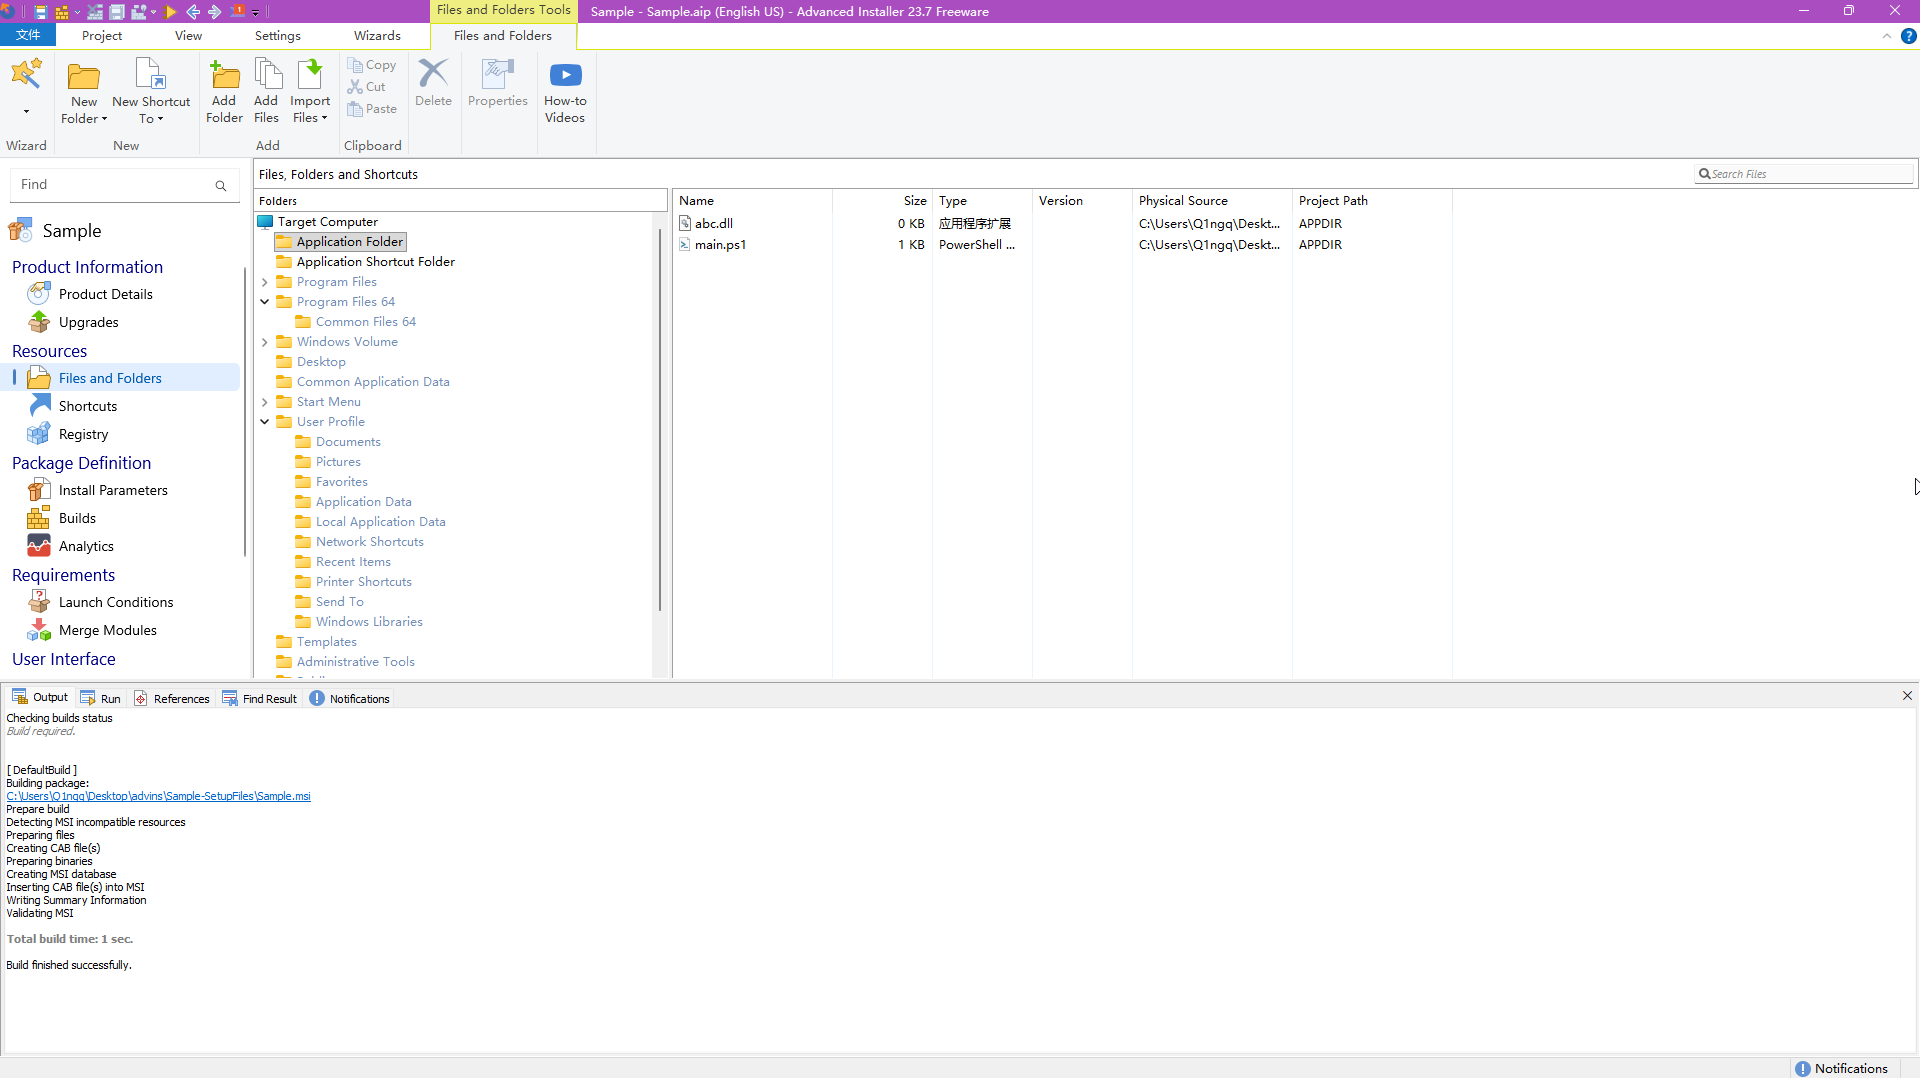
- Set up the app files to be installed in
Files and Folders.
Right-clickApplication Files, selectAdd Files, and choose all your app files in the file selector.
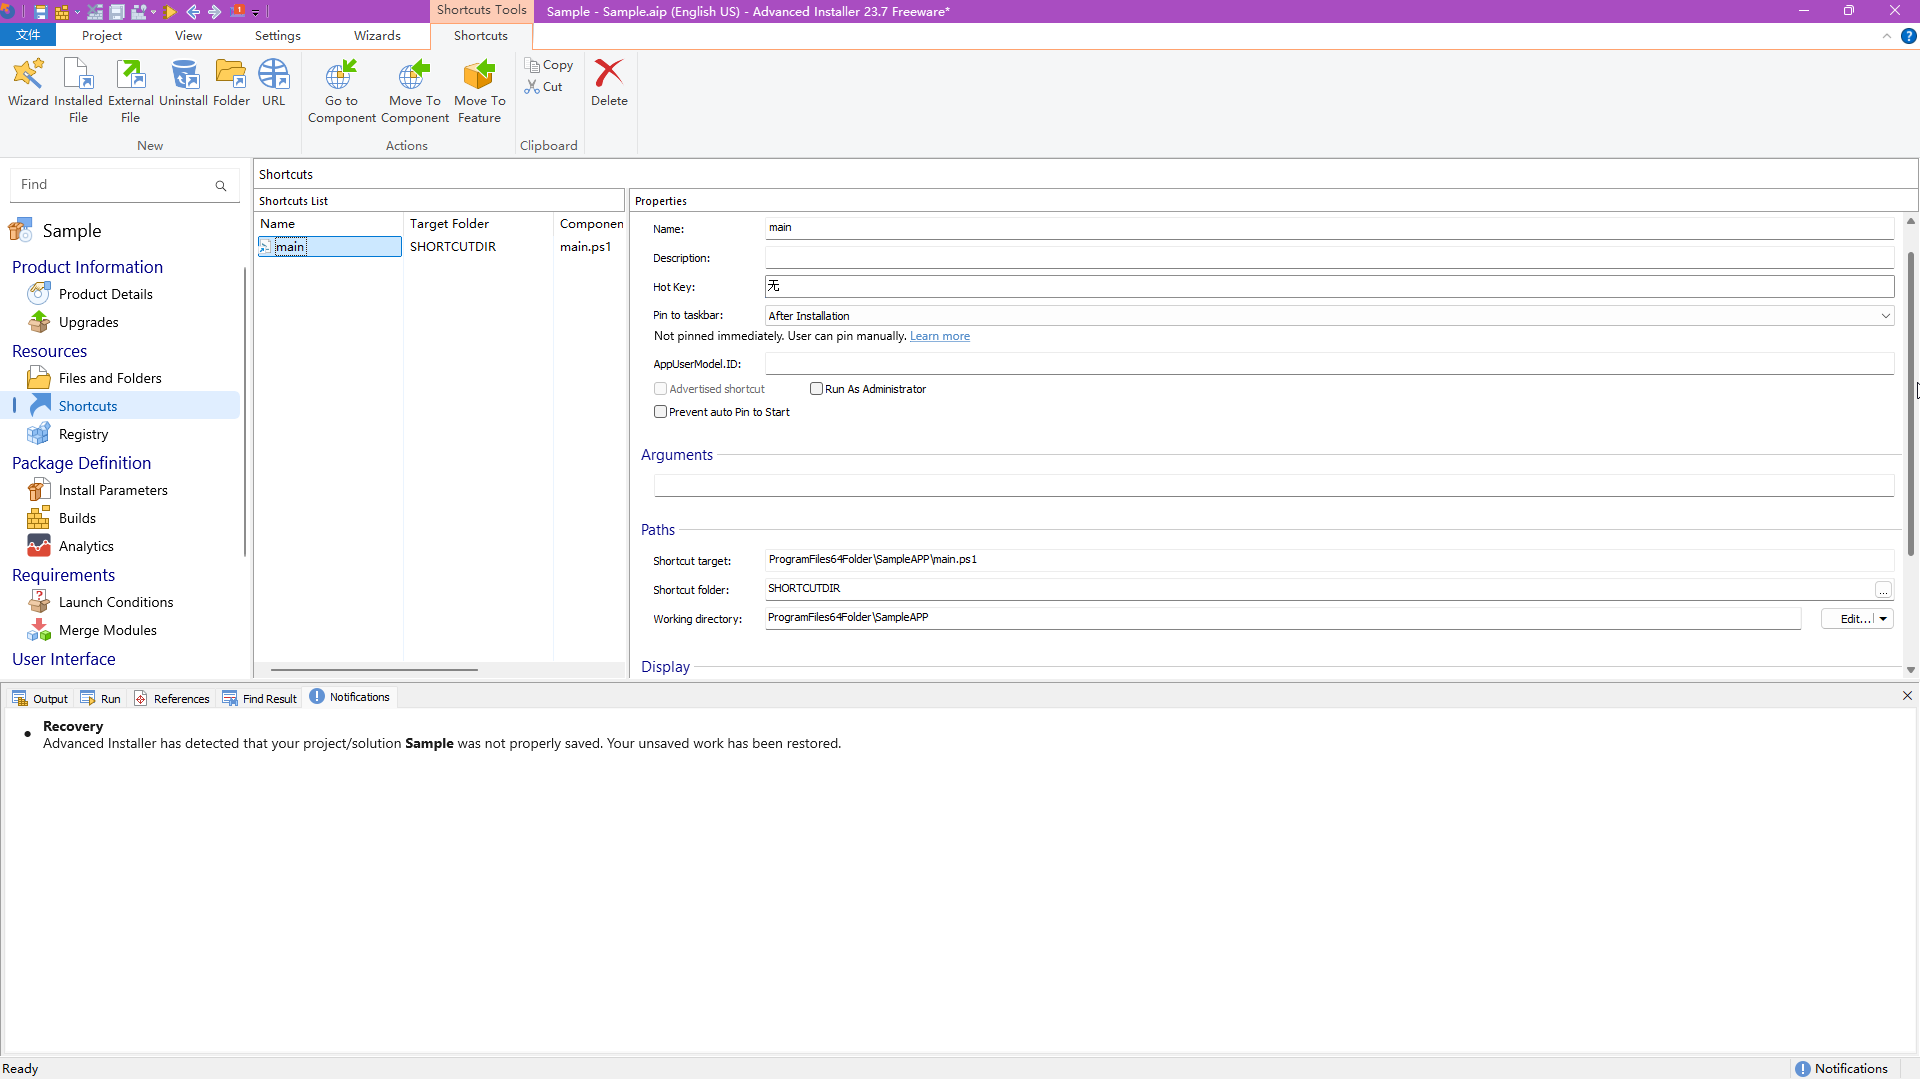
- Configure shortcuts in
Shortcuts.
InShortcuts, right-clickShortcuts Listand selectInstalled File.
Select your main program in the file selector, for example, main.ps1.
Additionally, you can go back to the Application Shortcut Folder, copy the shortcut inside, and paste it into Desktop so users can easily open it from the desktop.
-
Other Configurations
InInstall Parameters, configure the installer to theAMD64version, which is currently the most common.
FindPackage typeunder theInstallation Optionssection and change it to64-bit package for x64 processors (AMD64, EM64T). -
Final Steps
Click theFileoption in the top-left corner to save the project to a location.
Go back to the Product Details page, verify that the configuration is correct, and then click Build in the top-left corner to build the project into an msi installation package.
Advanced Installer will create a directory named <App Name>-SetupFiles where the project was saved, containing your installation package!
You can now send this installation package to your friends to use.